
Use free apps on iPhone or iPad to stop Twitter and Instagram cropping out your subtitles
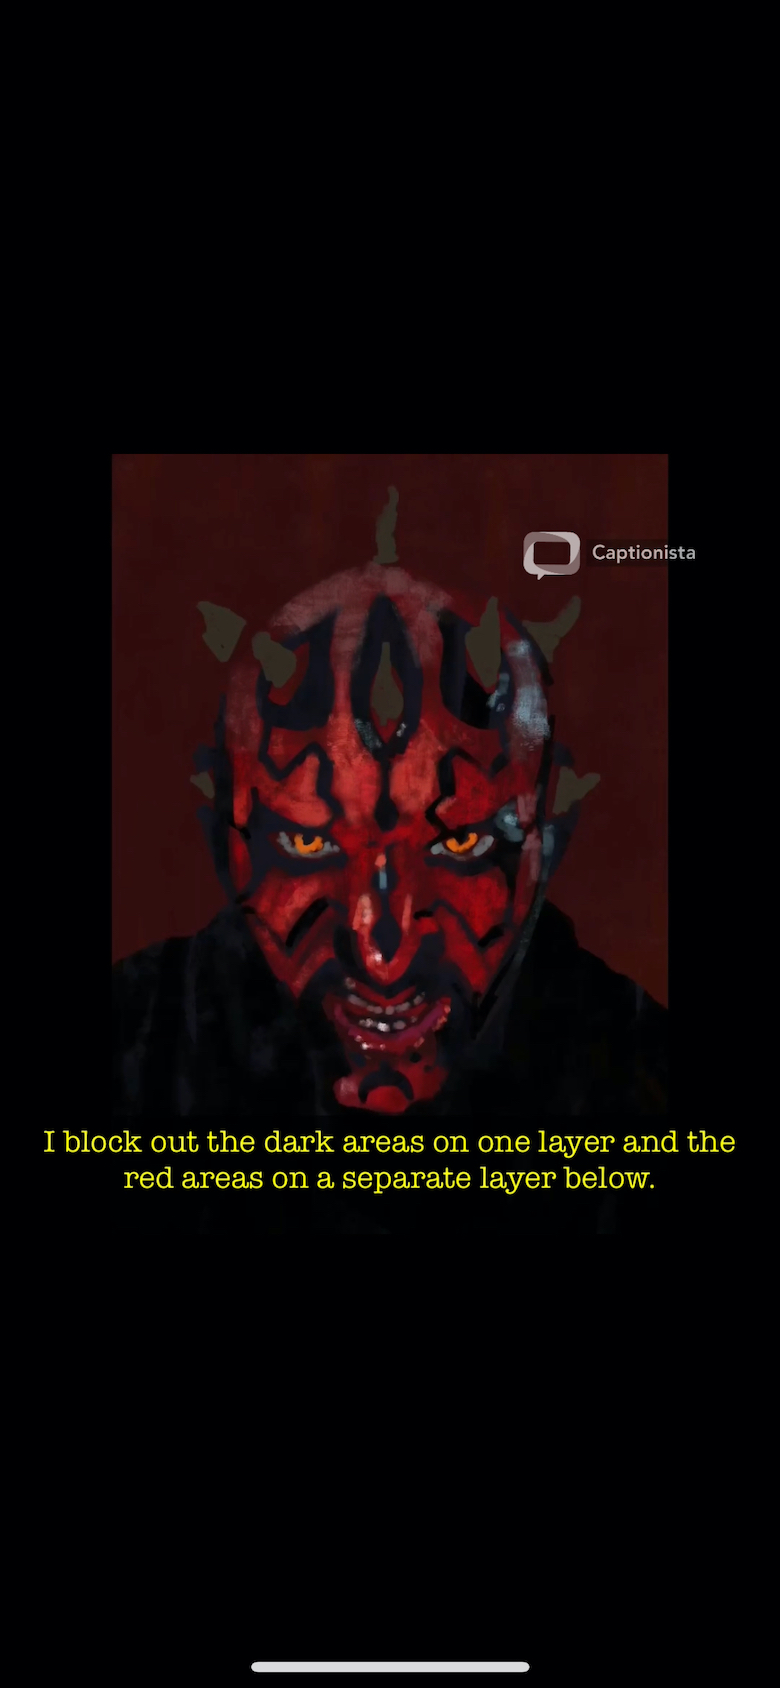
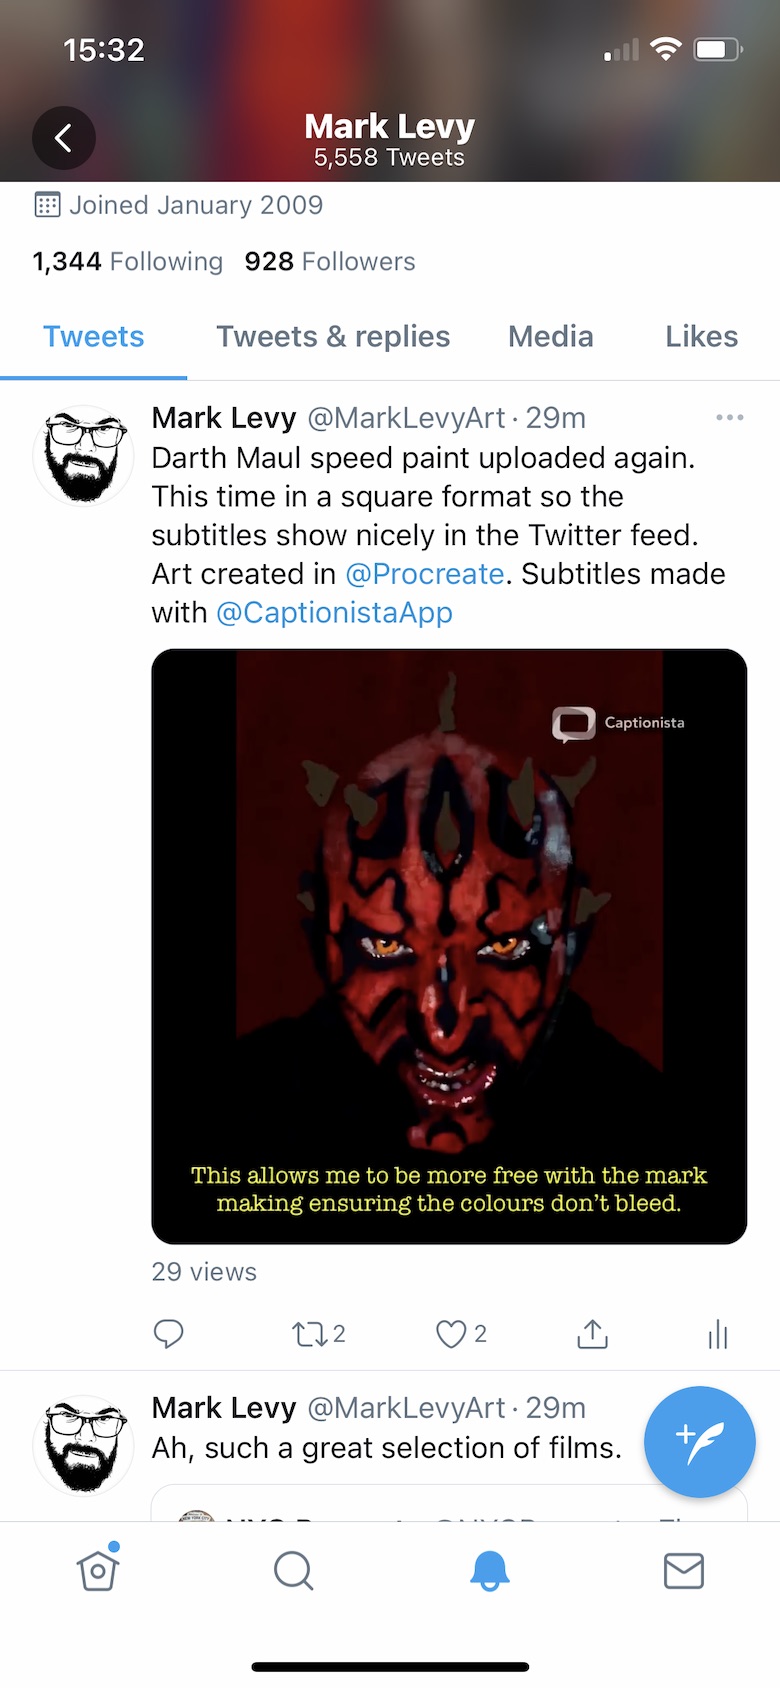
Yes, we’ve been there ourselves. You spend some time adding subtitles to your video clip, post it to Twitter and Instagram… and then you see the subtitles have been cropped in the main feed:
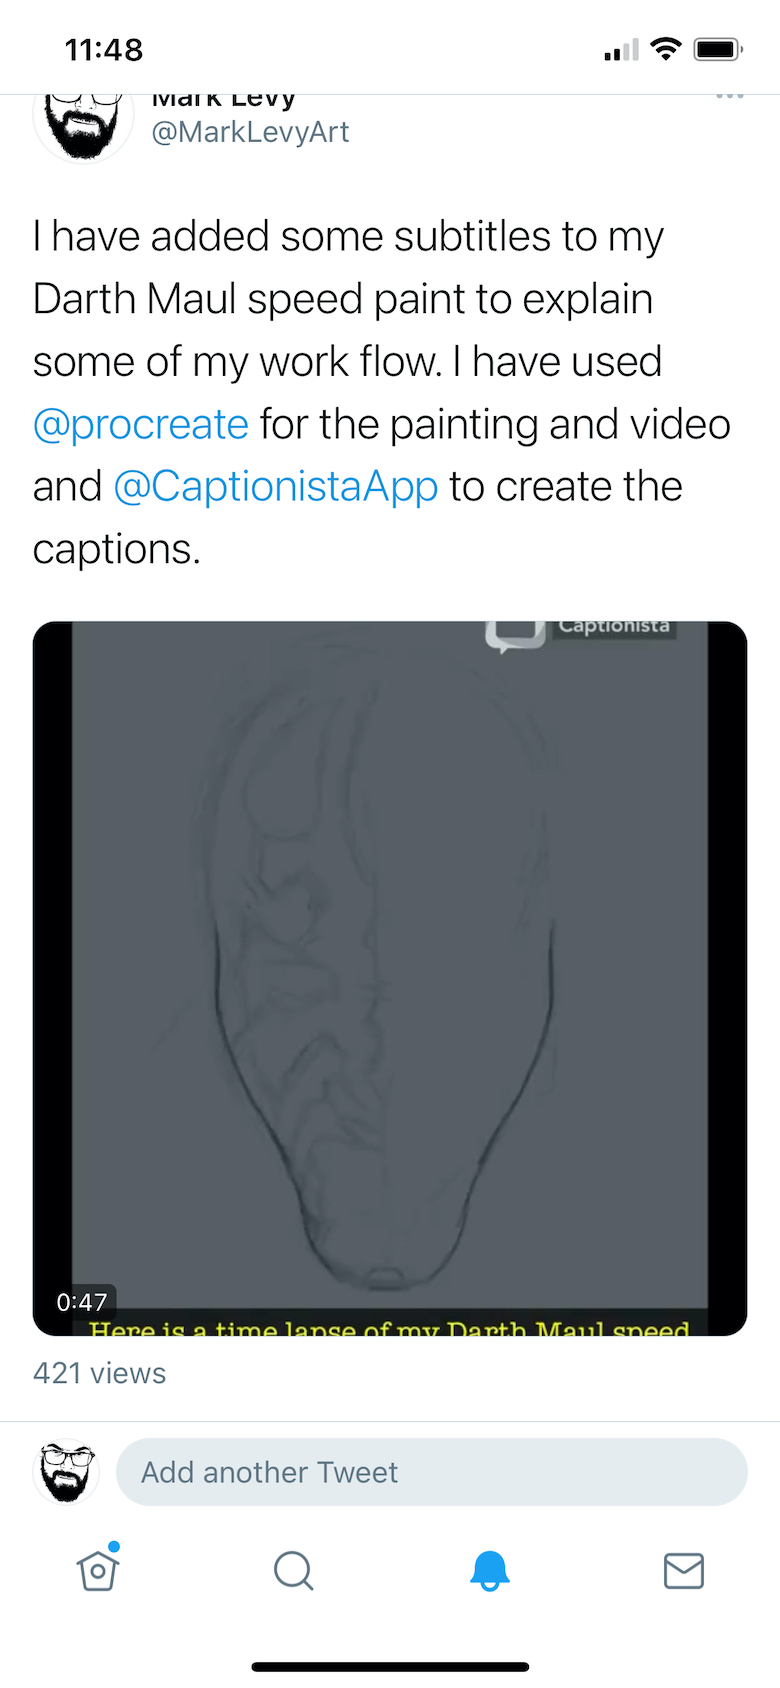
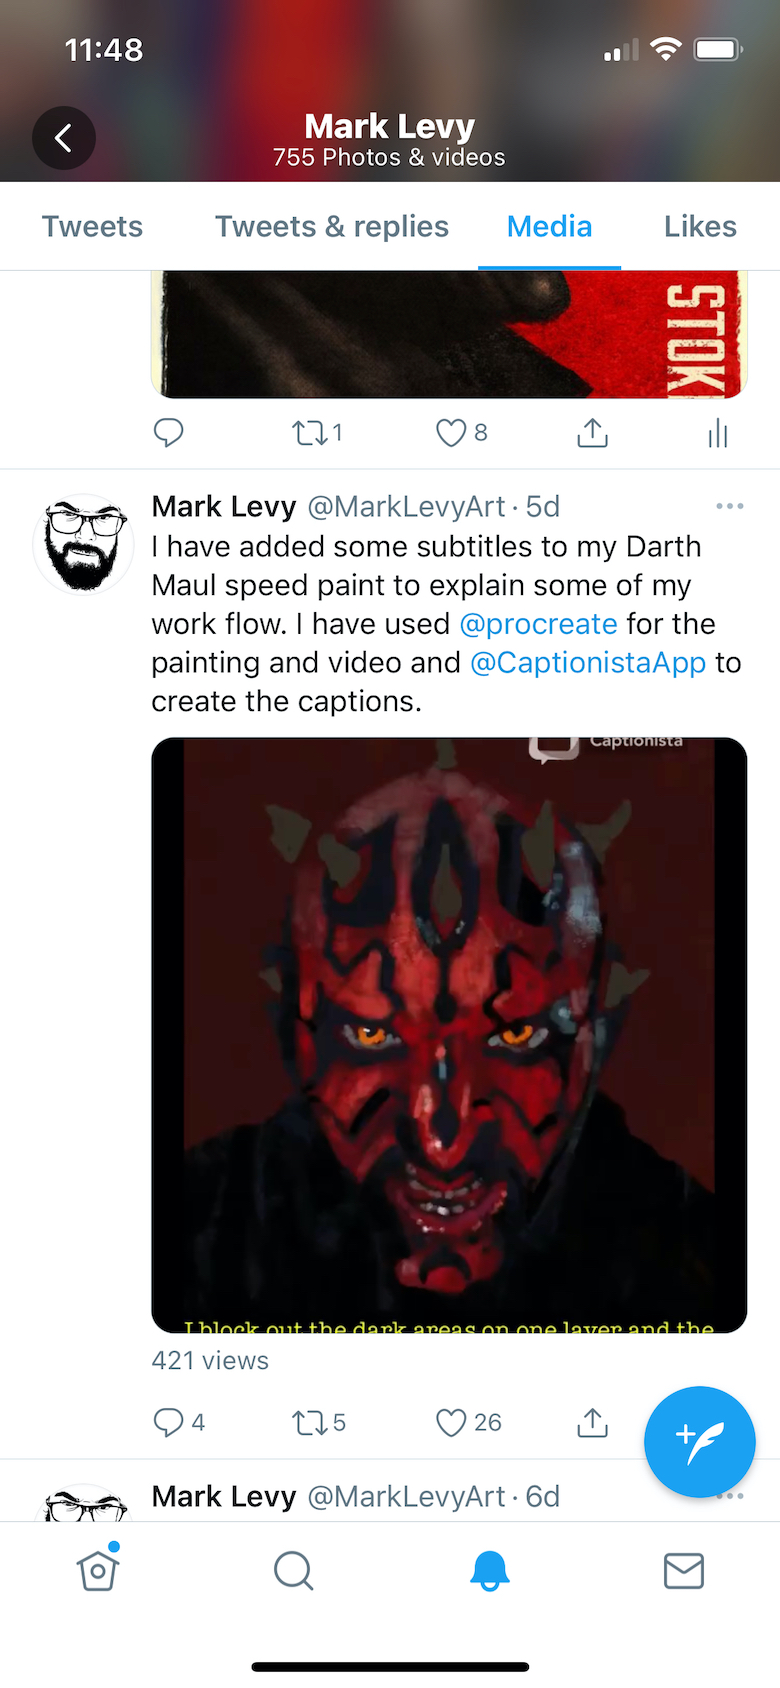
All that effort to add the subtitles and … they’re not legible unless the viewer taps on the post 🤦♂️
Subtitles add an important extra dimension to your video, improving accessibility and getting people to engage more when they have the sound off on their devices. The difficulty is that videos such as screen captures are rarely the correct aspect ratio for use in feeds.
In this article we’ll show you how to solve this problem after the fact, using Apple’s free app iMovie on iPhone or iPad.
Remember: it’s always better to make sure your video is a suitable before you start, but often we don’t control the videos we are given so we just have to make it work.
Why is the video being cropped?
As the width of your video decreases relative to the height, aspect ratio of the video becomes closer to square and then starts to become portrait.
At the time of writing, the square ratio is the limit of what most social feeds will show without cropping so this problem generally affects portrait selfie videos and portrait-ish screen captures.
For example the sketching timelapse video used in this article was cropped by @MarkLevyArt from a portrait screen capture video on iPad, resulting in a video that was still a little taller than it is wide.
How do we fix this?
To rectify this you can alter the video so that it is square or wider, with gaps at the sides.
You might think you could fix this in the Photos app on iOS but unfortunately the Photos app only allows cropping of videos — it doesn’t allow extending the “canvas”
The quick workaround is to use iMovie, but finding the options to do this can be tricky!
Use iMovie to adjust the size of your video
Here’s how to import your video and composite it into a new wider video for export and sharing on social networks.
Step 1 - Create an iMovie project
On your iOS device, install and then run iMovie and click New Project.
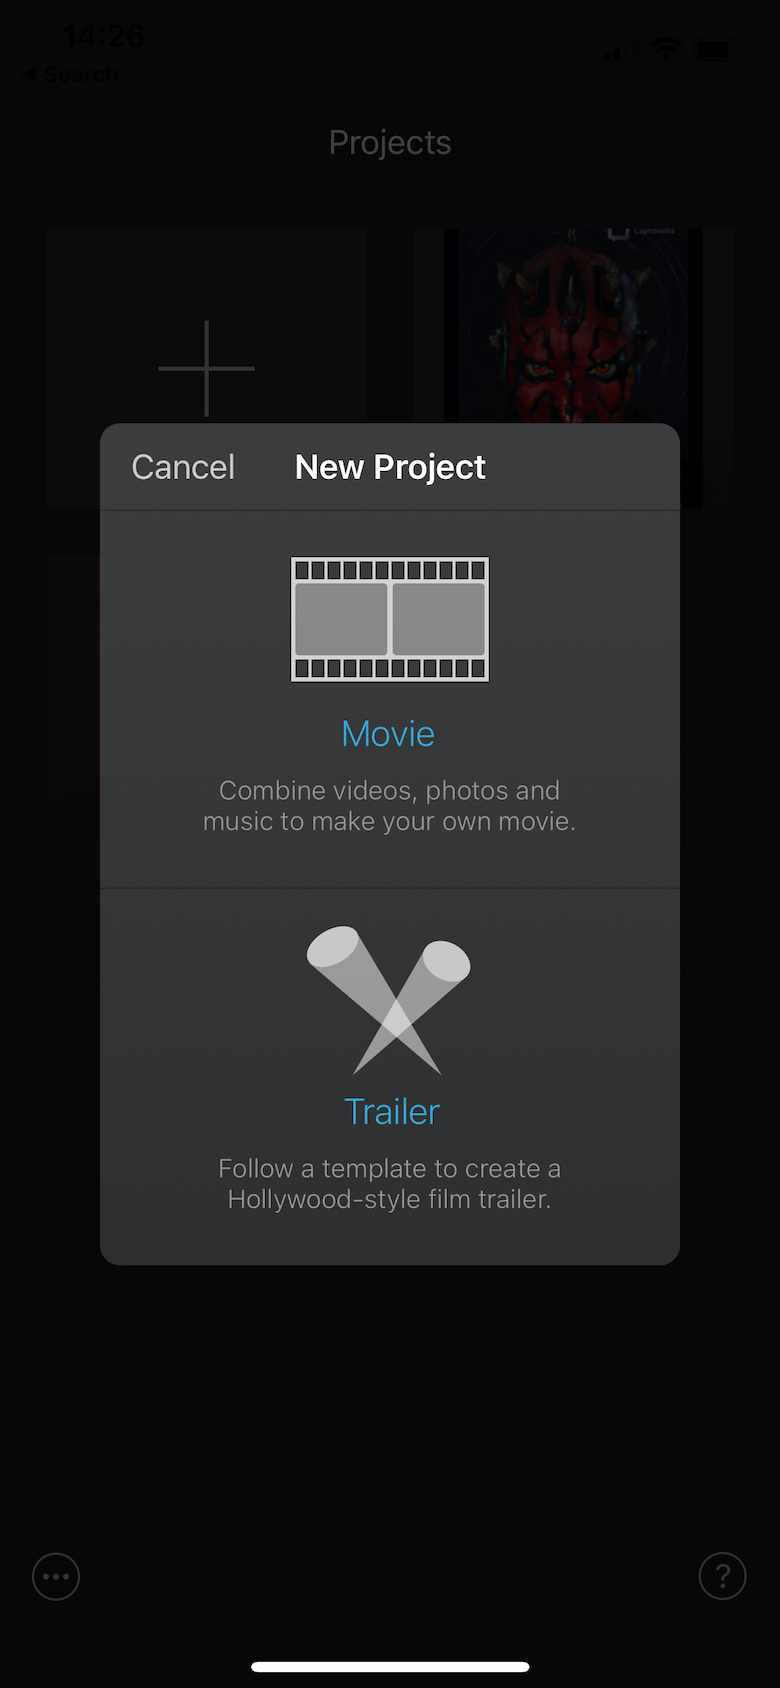
Choose “Movie”.
You will then be prompted to add some media. Find your existing video and hit “Create Movie”
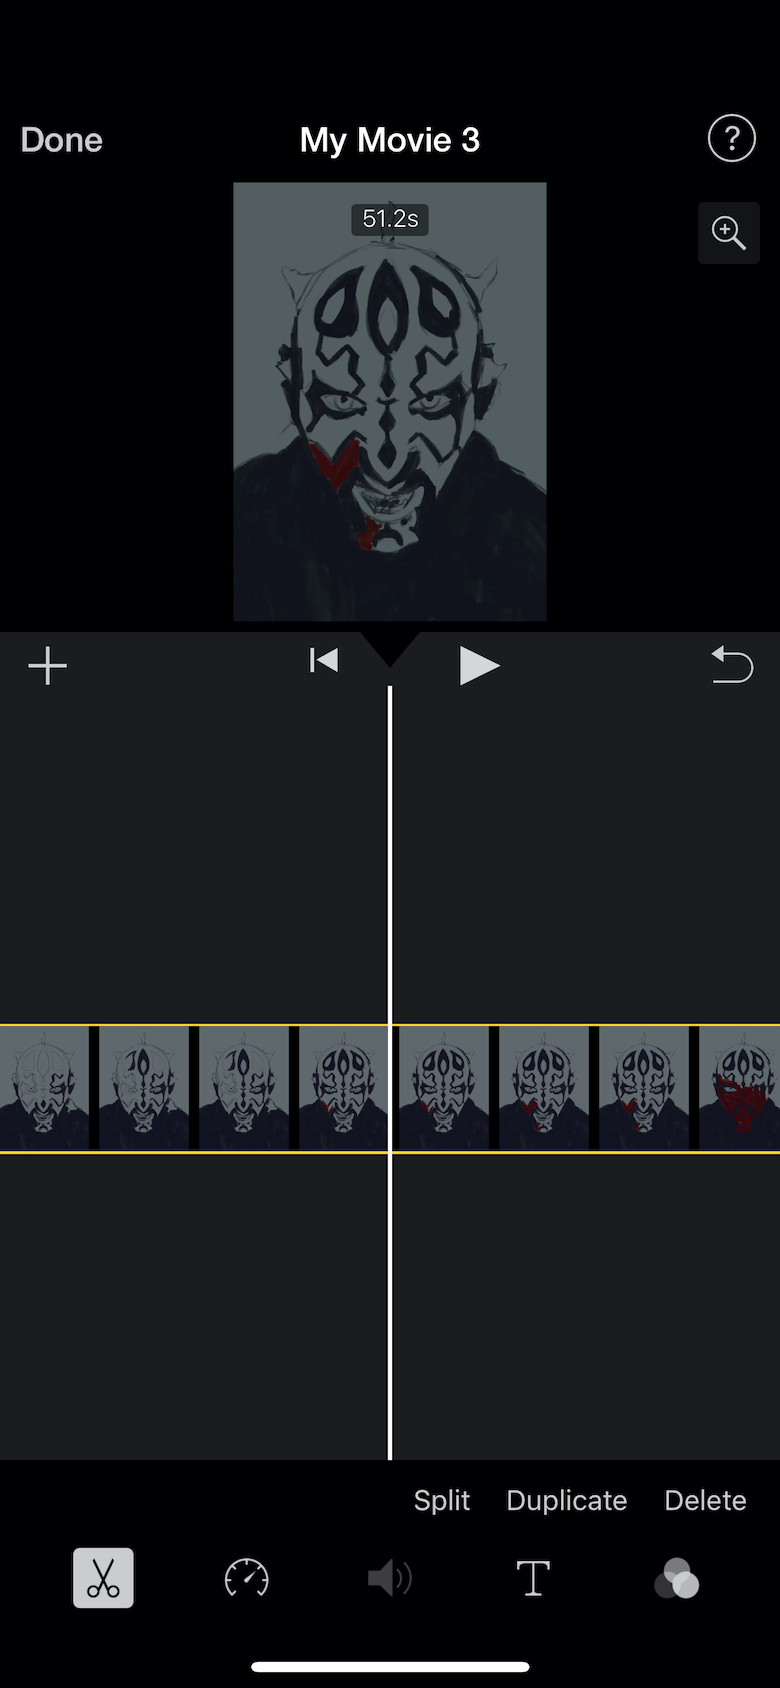
Step 2 - Position and size your video inside the new video
You now have a 16:9 format movie with the imported video in the centre.
Sometimes this can still crop the top and bottom of the video so you will need to tap on the clip in the timeline and then use the magnifying glass button in the top right of the preview.
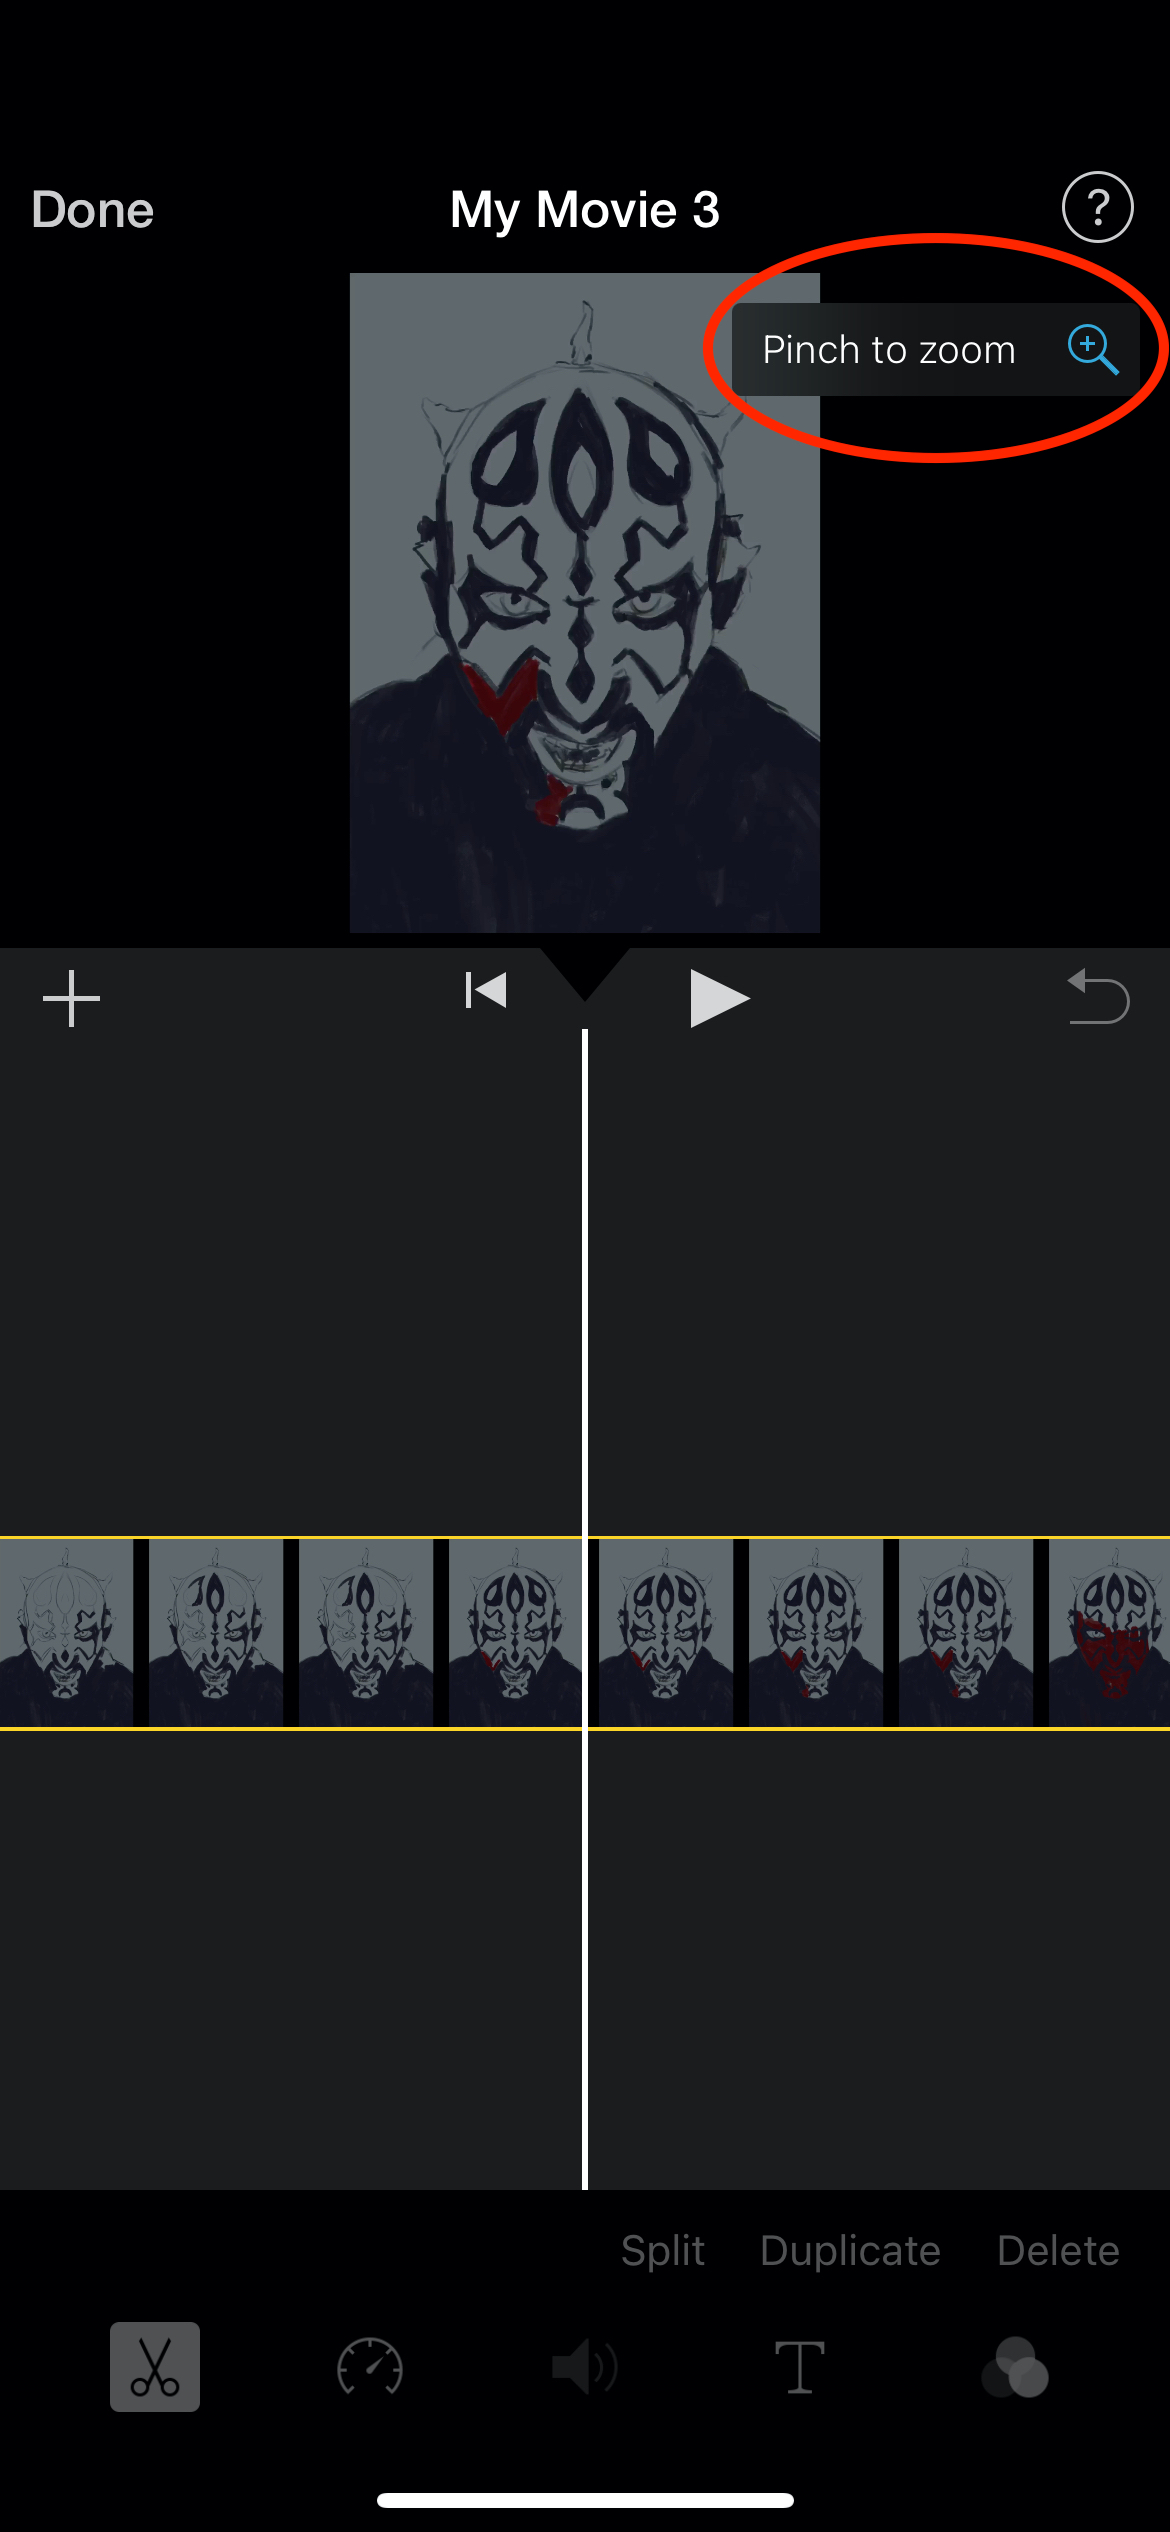
A pop-up will appear saying “Pinch to zoom”. Do this and the video will shrink and snap to show it all.
Step 3 - Export the new 16:9 video
Tap done followed by the Share icon. Save your video to your Photos Library.
You are done with iMovie now so close this and go to Photos.
At this point you could share the new video and it will show in feeds, but your video is likely quite small in the center of the 16:9 video and nobody will be able to ready your subtitles in the feed. We’ll fix that next.
Step 4 – Crop the 16:9 video to square
Open the iOS Photos app and select your new movie.
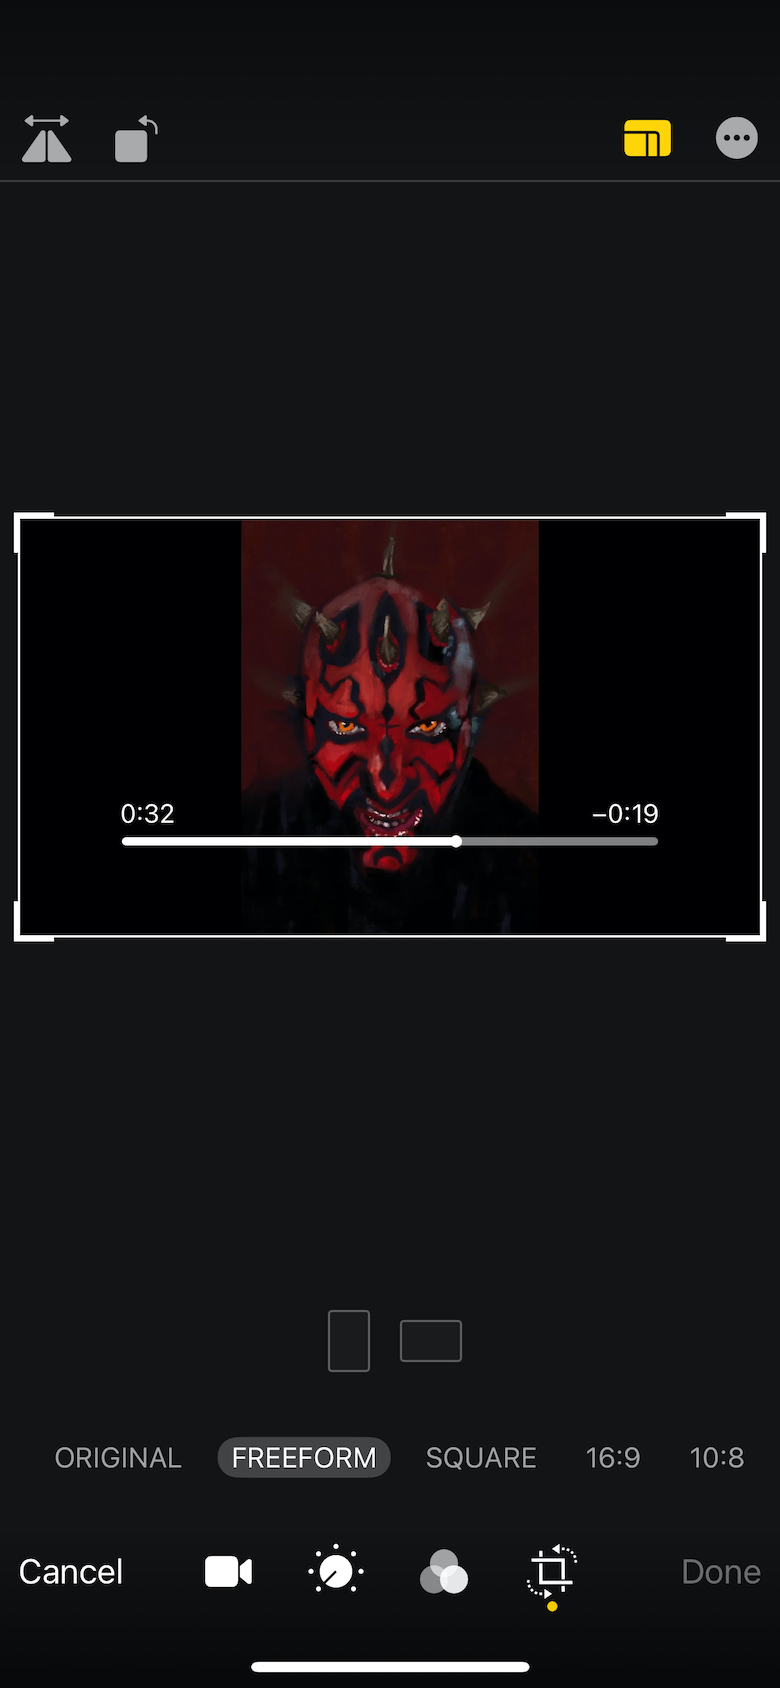
Hit “Edit”, then the “Crop” icon followed by the “Aspect ratio” icon.
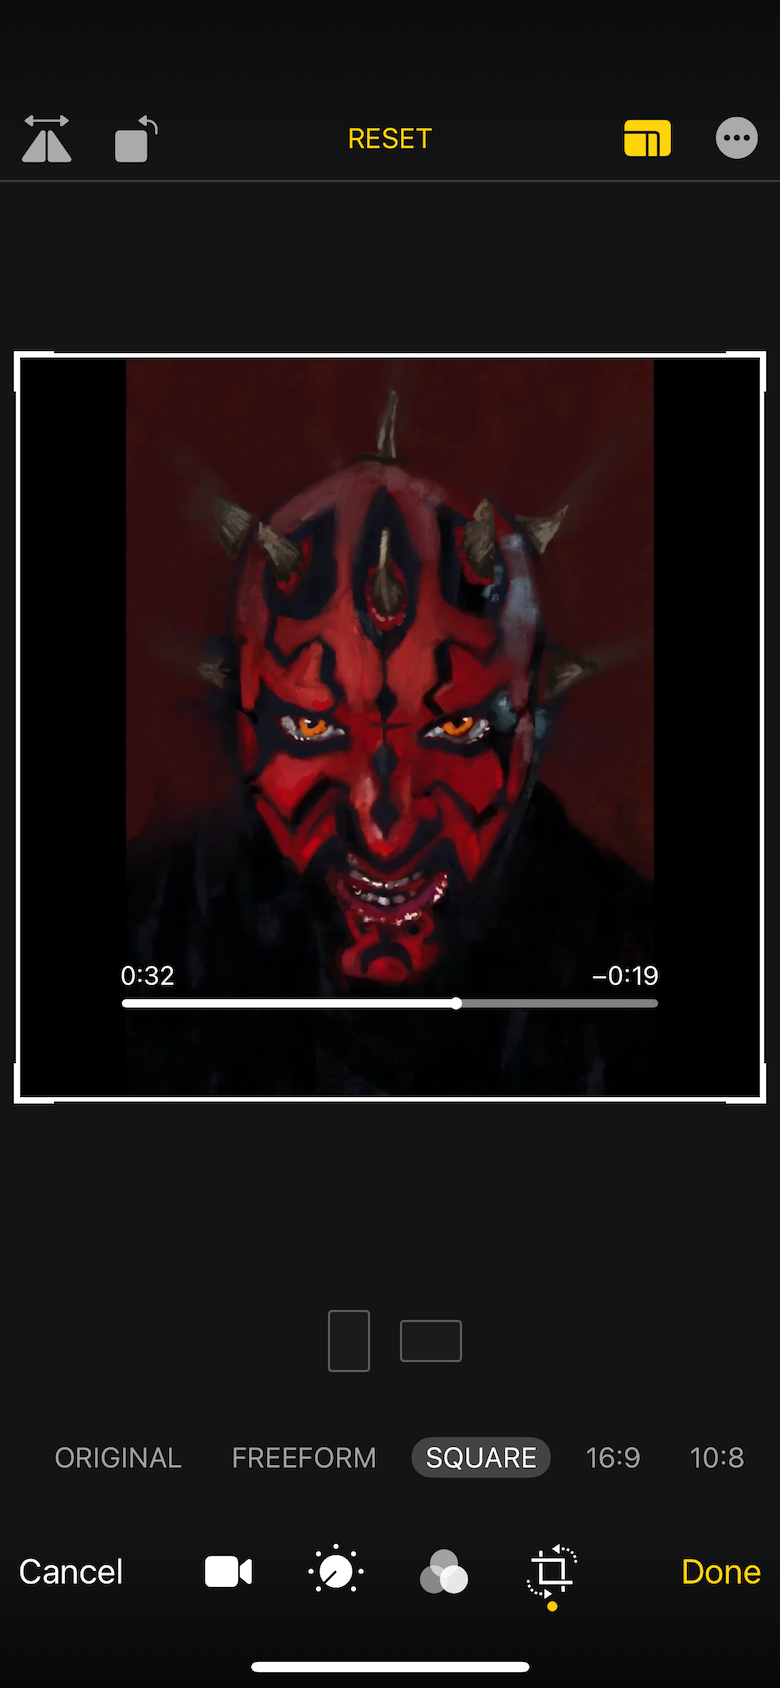
Choose the “Square” option at the bottom and then tap “Done”.
(Note: The video crop feature was only added in iOS 14 so if you can’t see that option you will need to update your device)
Step 5 - Add your subtitles if needed
If your video already had subtitles, you’re good to go now. You will find that the quality has degraded, but if you don’t have the original video without the subtitles on it there’s not much else you do.
However if you have not yet added your subtitles, you can use our app Captionista for free to import the shiny, new, square video and add snazzy subtitles quickly:
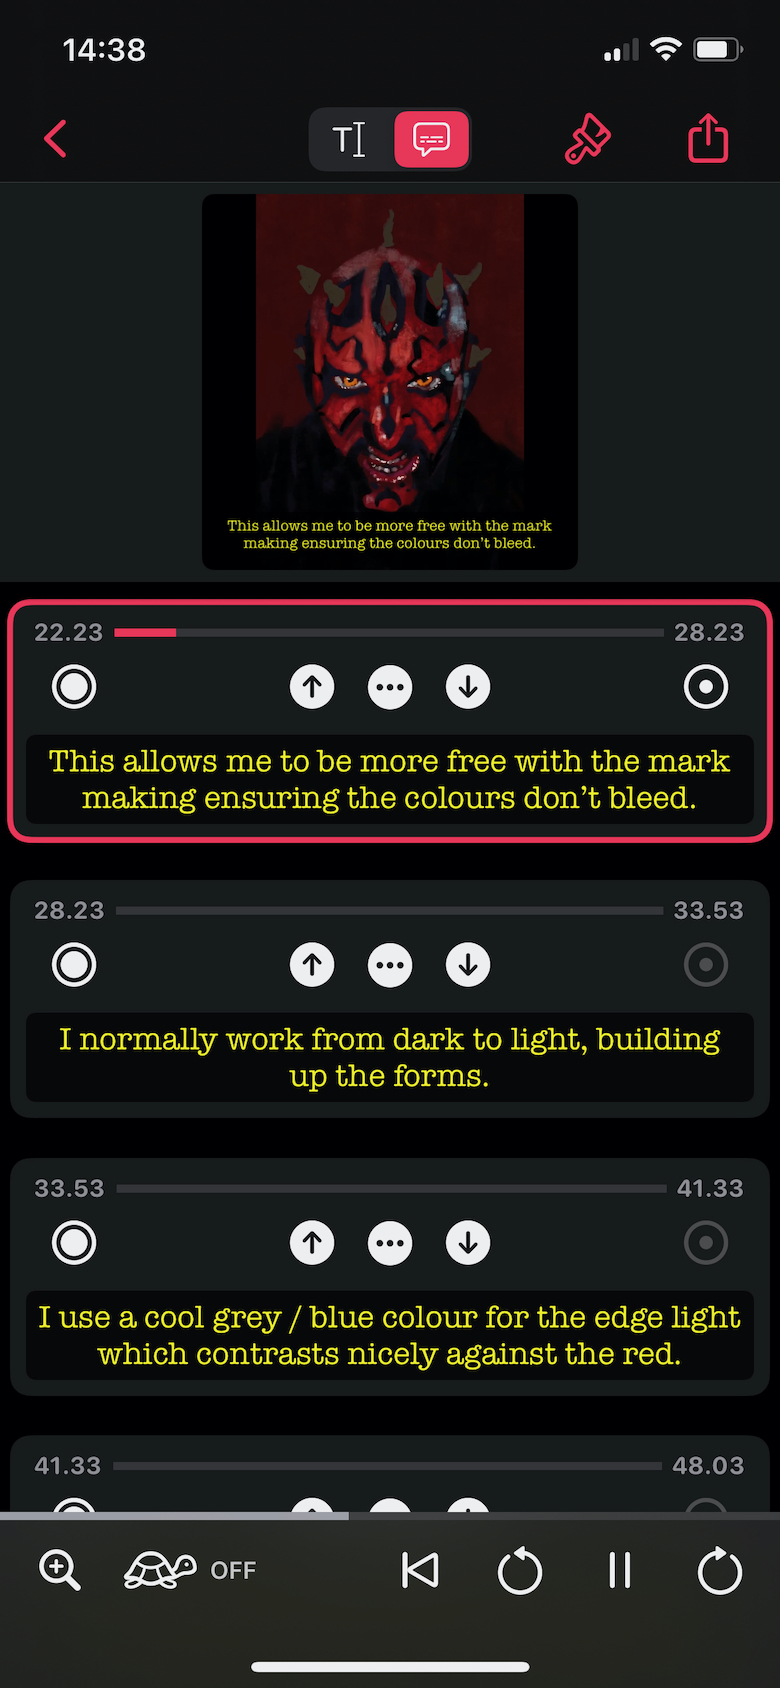
In Captionista you type the subtitle text you want, then choose a style and finally tap the words to set the timings of each subtitle.
Once you’re happy with them you can export to your Photo Library or directly to social networks.